No matter what you do everyone has a favourite, with me and photography its no different, of the thousands of images in my archives there are some that I keep going back to over and over again, the ones I show when people ask me what I’m up to, the ones I choose the pc background from, the ones I print and frame for display. The more I get into this the larger the collection becomes and better cameras don’t necessarily make it easier as I still include images that I took with my first DSLRs.
So what makes a particular image a favourite?, well sometimes its the time of day, that occasion when the lighting is just right and the image comes out just as I imagined it and you know that the odds are very high against ever being able to take it again. For others it could be the amount of work that I put in afterwards to create a mood that didn’t exist at the time, that took so many steps in editing that I’d lost track of what I’d done yet I remained pleased with the final result. Whatever the reason these are the images that I copy into a separate file so I can access them immediately, if you haven’t then I can only recommend you start one.

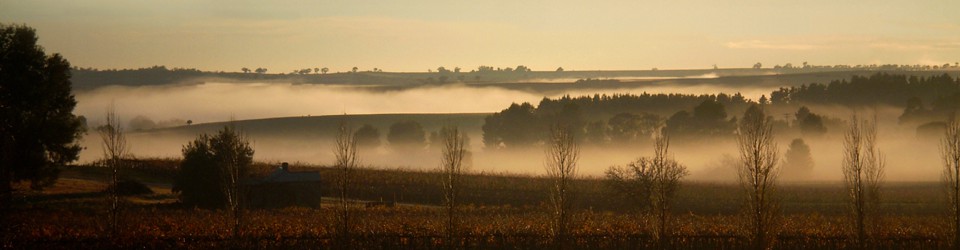
Wind driven water pump
I’ve attached two favourites, the first of the water vane in the wheat field brings back memories of how it was taken, the position I’d chosen was the home of hundreds of persistent flies that I had to ignore until I’d achieved the image then run to chase them off, so glad the final result was worth it.

Return from Patrol
The second Return from Patrol was a lot of work considering the subject, I knew what I wanted and it took so long editing to get it there, there are lots more on display in the Favourite Photographs Gallery, take some time and look around…


